Until now his antlers have been in the BBQ bin outside resting in this box.
Notice that 'Nacho' is also looking forward to this project...
Having never done this before we followed the instructions word for word...
First step was make a pot of antler-soup, mmm.
It was so good we made this brew twice to be sure we boiled away all the bits of flesh & brain...
After boiling came the scraping, scrubbing, more scrapping and then washing; fun & stinky work it was...
Once they were clean & odor free the real fun began. Sawing the skull pieces to size.
This took forever because we didn't want to remove too much at once and screw it up.
After a good hour we had them in the best possible shape we could for mounting to the mold...
A little skull drilling was the next step.
Two holes in the bone of each antler to affix it to the kit mold.
Cameron snapped my 9/16" bit in half during this step; he needs more time with power tools...
Ah, starting to look like the deer that once was.
No, this may not look pretty, but we're not done yet; patience!
We needed to break for lunch at this point...
Ok, after lunch we realized that the remaining steps were paper mache, cutting leather, gluing, ugh...
Too much like a craft project, I HATE craft projects.
So I lost interest in photographing the remaining steps
We grumbled through the paper mache bit, let that dry over night...
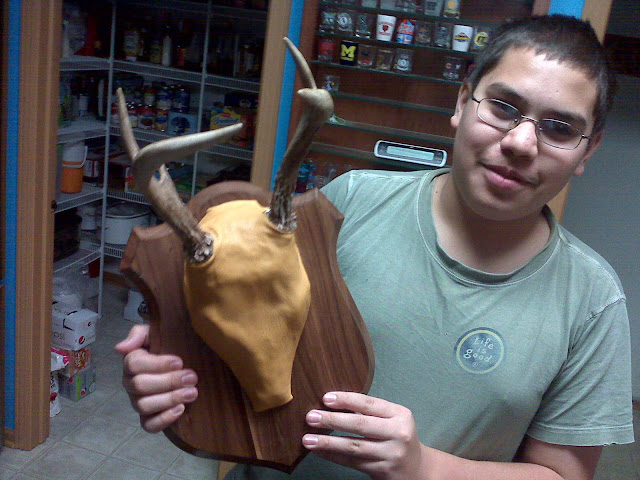
Then finished up cutting the leather, forming it, gluing it and affixing the mold to the base.
There you see the final product; I'm not sure which of us was happier to see this chore finally complete.
His antlers now proudly hang on the wall in his bedroom.


Good job, Cameron! We are a family of hunters (well, not me, but all of the guys and a couple of the girls). I am in awe of you tackling that deer mount.
ReplyDelete